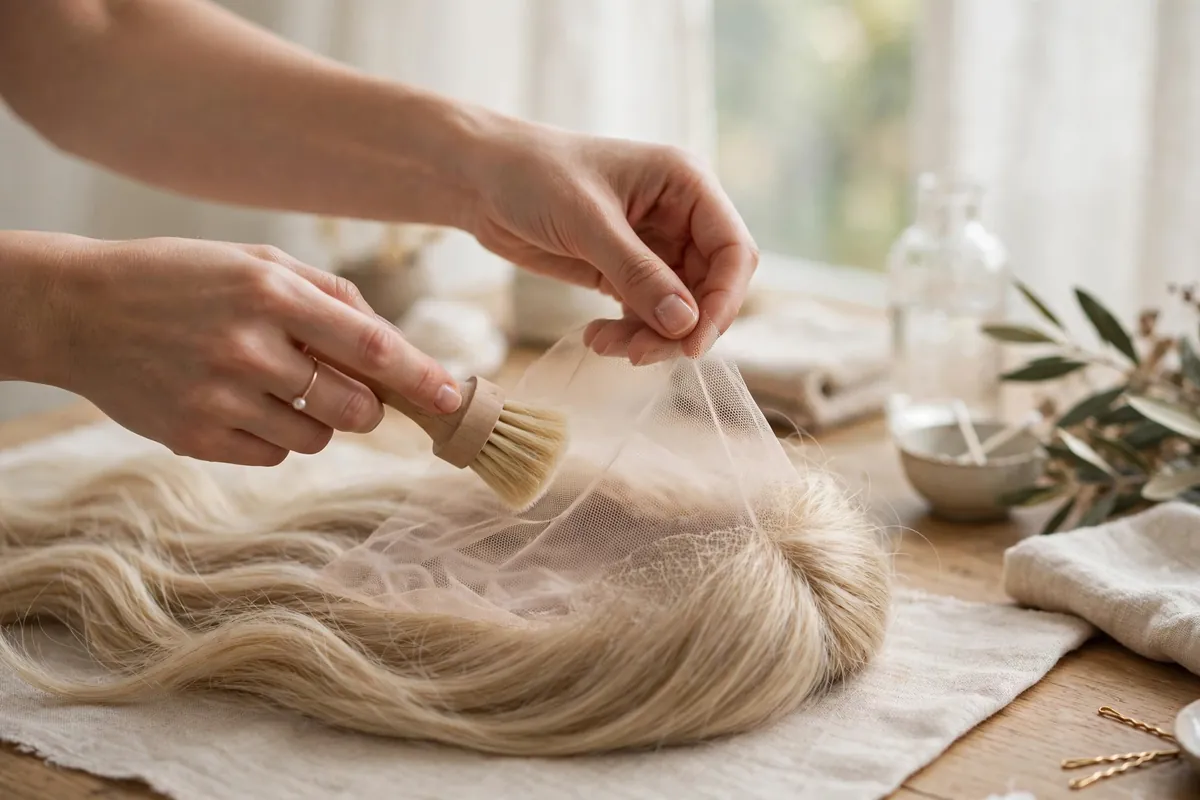

A hair topper only looks natural when it disappears into your own hair. Learning how to blend a hair topper properly is the difference between a piece that adds invisible volume and one that announces itself the moment you leave the house. The good news is that blending is a skill, not a talent: with the right preparation, placement and finishing touches, most people can make a topper undetectable in about ten minutes.
This step-by-step guide covers choosing the right base, preparing your natural hair, positioning the topper, and blending the join so the two move as one.
Start With the Right Match
Blending begins before the topper goes anywhere near your head. Colour is the biggest giveaway: the topper should match the colour of your hair at the mid-lengths and ends, not the roots, because that is where the two meet. In daylight, hold the piece against your hair near your face. If the shades differ slightly, a closer match can often be achieved with a root touch-up spray on your own hair or a professional tone on the topper.
Texture matters just as much. A silky-straight topper over naturally wavy hair will always look like two different heads of hair. Match the texture as closely as you can, and remember you can style both together later. Our guides to choosing the right hair topper and the practical topper buying guide cover base sizes, hair types and colour selection in detail.
Prepare Your Natural Hair First
Clean, dry hair blends best. If your hair is freshly washed and very soft, a light texturising spray at the roots gives the clips something to grip. Create a clean parting where the topper will sit, and gently backcomb a small patch of hair at each clip position. This “anchor” teasing stops the clips sliding and adds a little lift so the base sits flat rather than perched.
If your own hair is very fine at the front, leave a thin section of your natural hair out along the hairline before clipping the topper in. This “leave-out” is the single most effective blending trick there is, because your real hairline stays visible and the edge of the base is hidden behind it.
Position and Secure the Topper
Place the front edge of the topper about a centimetre behind your natural hairline, or just behind your leave-out section. Open all the clips, position the piece, then close the front clips first and work backwards, keeping the base smooth and centred on your parting.
The topper should feel secure but not tight. If it pulls, it is sitting too far forward or the clips have caught too much hair. Getting the size right at the buying stage makes this far easier, which is why measuring your head correctly matters for toppers as much as for full wigs.
Blend the Join: Cut, Style and Finish
Once the topper is secure, comb your leave-out hair back over the front edge and blend it into the topper hair with your fingers rather than a brush. Then style both together: a curling wand or straighteners used on the combined hair forces the two textures to match and hides any difference in shine. Human hair toppers can be heat-styled freely; check the heat limit on synthetic pieces first.
If the topper is longer or thicker than your own hair, ask a hairdresser to trim and layer it while you wear it. A few feathered layers around the face remove the “shelf” where the topper ends and your hair begins. This one-off cut is the step most wearers skip, and the one that makes the biggest visible difference.
Finish with a light touch of dry shampoo or texture spray over both your hair and the topper. New toppers often have a tell-tale shine, and a matte finish makes the two indistinguishable. Our complete wig care guide covers washing and storing pieces so they stay blendable for longer.
Blending for Different Hair Types and Coverage Areas
The technique shifts slightly depending on where your thinning is. For a widening parting, a narrow silk-base topper aligned exactly with your parting blends most easily, because the join sits where the eye expects a shadow line anyway. For crown thinning, a larger base worn slightly further back, with your front hair swept over the edge, hides the join completely. Fringe toppers and pieces with bangs are the most forgiving of all, because the fringe covers the front edge by design.
Curly and wavy hair needs a different finishing approach: blend with your fingers and a little curl cream rather than heat tools, and refresh both your own curls and the topper’s at the same time so the curl pattern matches. Straight hair shows joins more readily, so the leave-out technique and a feathered trim matter most there. Whatever your hair type, blend in the same light you will be seen in most, because bathroom lighting hides colour differences that daylight exposes immediately.
Troubleshooting Common Blending Problems
If the edge of the base shows when you move, the topper is probably sitting too far forward, or your leave-out section is too thin. If the colour looks right indoors but wrong outside, the undertone is off, warm against cool, and a toner or a root spray is a better fix than a new piece. If the topper feels bulky on top, the base may be larger than your thinning area requires; smaller bases blend more discreetly on fine hair.
Finally, check the result in natural light and from the side, ideally with a second mirror or a phone photo. Blending is a two-minute fix once you know which problem you are looking at, and with a little practice it becomes the fastest part of your routine. A well-blended topper should do the one thing it was bought for: make people notice your hair, not your hairpiece. For readers comparing base constructions before they buy, our lace front frontal guide explains how lace bases create a natural-looking hairline.